

February 29, 2012
New FO Challenge: February
February 27, 2012
Glows for Lone Star
 |
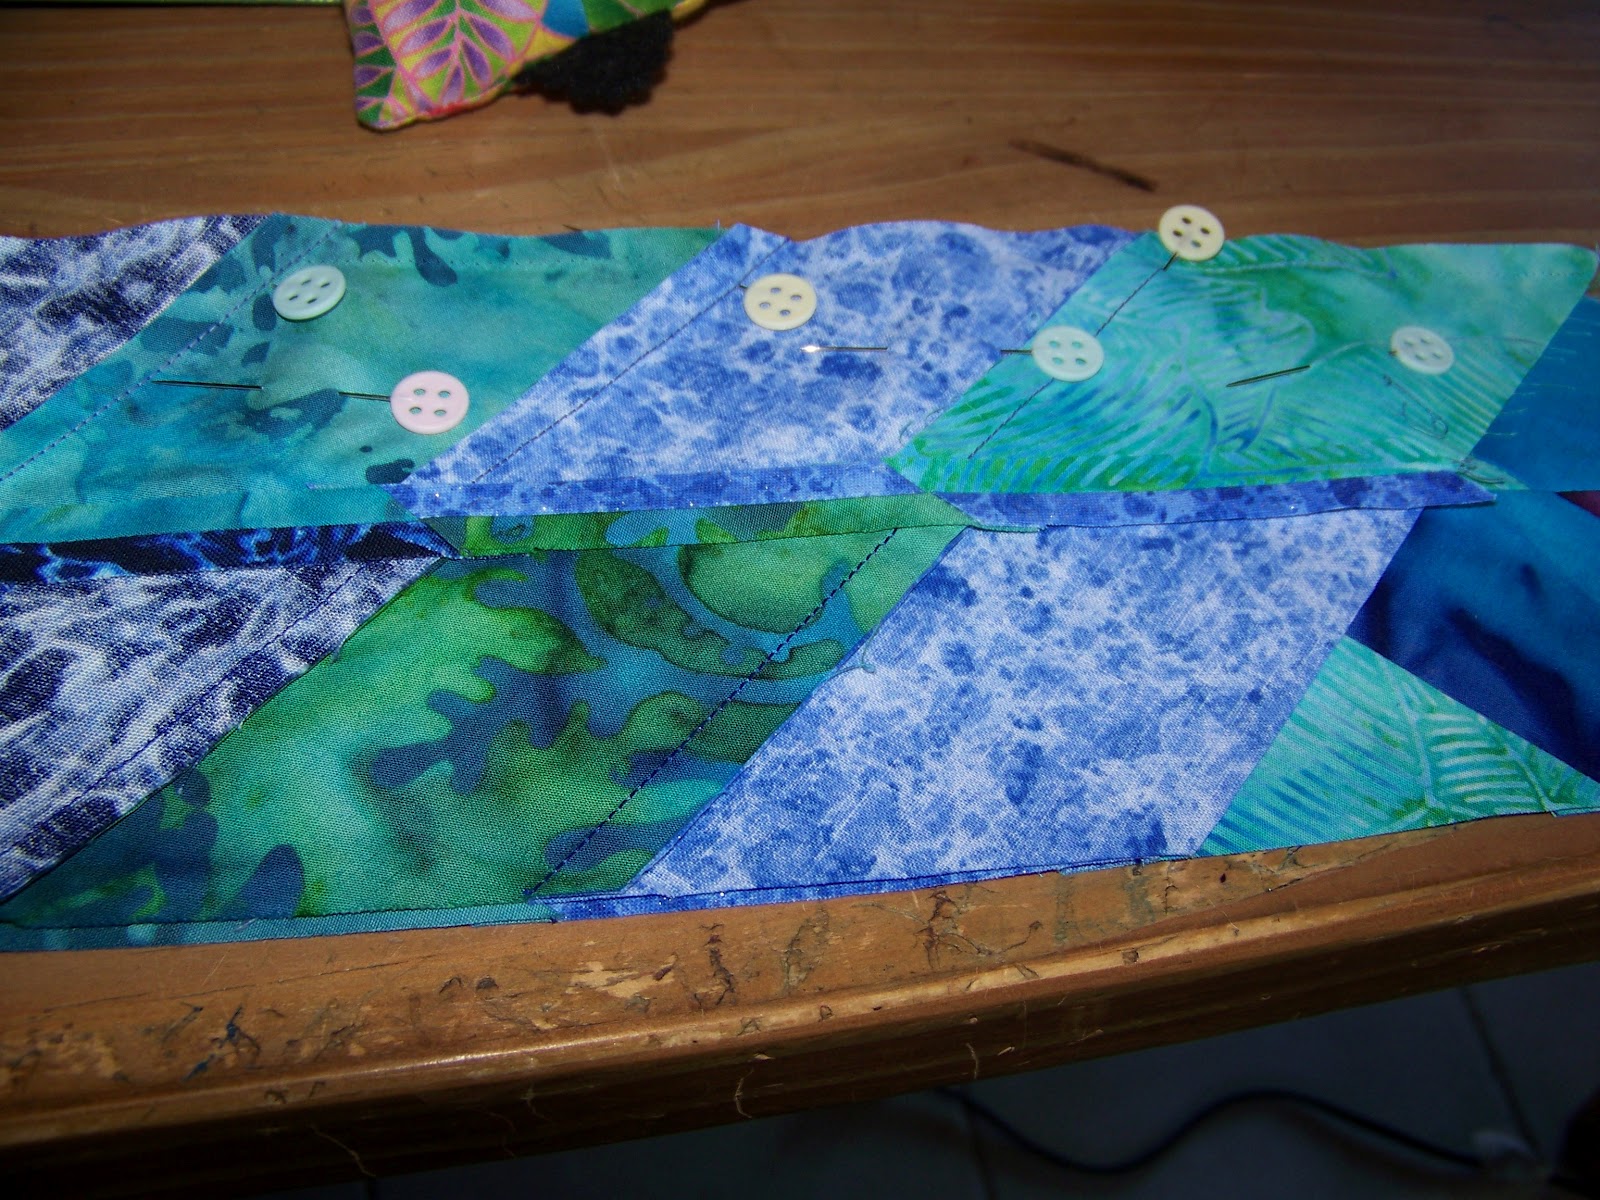
| First Glow Block Progress |
I really like this close up picture as it shows off the background I picked as well as for the first time showing you the true color of the batik in the glows, which is the same fabric as I used with the center star and star tips.
The white on white paisley fabric turned out to be the perfect compliment to my Lone Star Diamonds. I was certain this quilt would have a cream background but cream, khaki, gold, and tan all washed out my crisp colors. Any good quilter knows if you're having that much trouble head for something basic like black or white so it was without worries that I headed for the White on white fabrics and found this one that really made them pop. What do you think of the fabrics all together?
 |
| Lone Star Diamond with Partial Glow Block |
February 21, 2012
A Change
 Now Truthfully, I didn't care for the red that I selected for the Mystery Quilt. It just wasn't right so I went fabric shopping on Friday and found the single bolt of fabric that would work. Who knew green could be such a picky color to match? As a blend of yellow and blue, it seems this season it is much more popular to blend green with extra yellow, instead of the extra blue this quilt needs.
I also selected the main background fabric for my Lone Star Quilt, it is a white on white paisley, which I didn't expect to like, yet it works beautifully. I'm still thinking of what color the rays might be.
February 11, 2012
Christmas Quilt-a-Long Year 3 Evening
 |
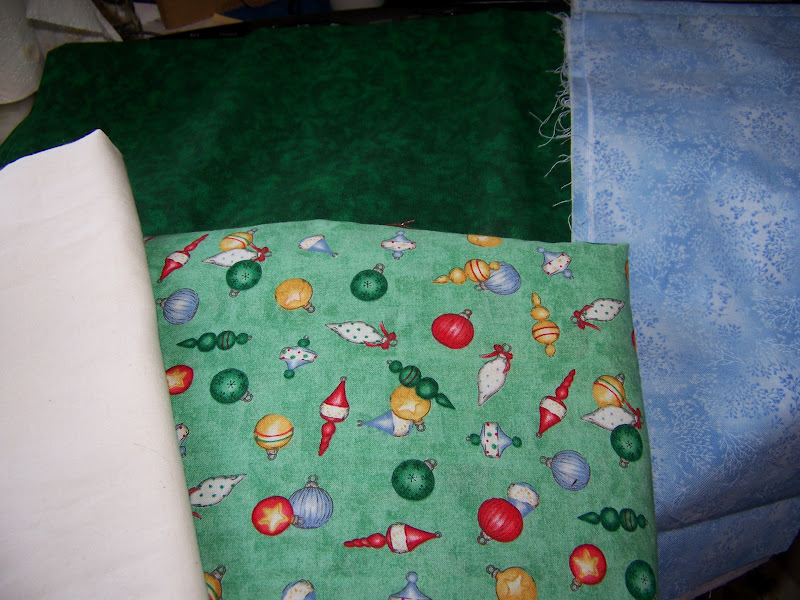
| Fabric for Christmas Mystery Quilt |
The ornament print is clearly my background fabric, the white my light, the blue my medium and the red, the one I missed completely when reading through the list the first time, the dark. So now I really am going to go rest. Take care and I'll be looking forward to seeing you again next month.
Christmas Quilt-a-Long Year Three January

Have you had any luck selecting your fabric yet? I haven't even looked. I'll have to go through what I have an see what works well together. The brown and teal swirl fabric is calling me for the dark fabric, but I will likely be using that a border in the Lone Star Quilt, so I know it's hands off that one. I'm looking forward to digging through and seeing what there is. You can bet I'll be all caught up with all of my fabrics cut by this time next month when we meet up with Joanna of Needle, Thread, Happiness
Foto Finish: Doors aka Quilter's Eyes
 |
| Entry Doors to Gaylord Palms Resort |
 |
| Detail within door |
February 10, 2012
Pre-Kickoff Christmas Quilt-a-long Year 3
As for the Mystery Quilt, it is 6 installments with a finished size of 42" x 60" after the first 6 installments, we'll be turned loose for quilting with the final reveal of the quilts in December. Boy December, I can hardly wrap my brain around it being February already. Hazel will have the first installment which includes fabric requirements as well as the cutting directions. I'll look forward to seeing you there after I wake up.
February 07, 2012
Versatile Blogger Award

1. Add the award to your blog.
2. Thank the blogger who gave it to you.
3. Mention seven random things about yourself. (see below)
4. List the rules.
Then there is something about 15 bloggers, but you know how it is, I always pick people who don't want to pass it along, or it doesn't work with their content. So I'm going to scratch that part.
Seven random things hu?
1. I have a bug bite on my forearm. This is the second one today as I woke this morning with one on my other arm. I think it's this mild winter, bugs that should have died instead are dining on me.
2. I am the oldest of five children. The youngest was in diapers when I started dating my husband.
3. I have always wanted a rolling organizer cart. So back before Christmas when my mother offered one she didn't need anymore I jumped at it and now I don't know what to do with it, so it just sits in the sewing room. Empty!
4. I hate seeing children play in the street. It makes me feel ill.
5. For the first time in my known memory, my husband is sick and I'm not. Normally I am the virus and bug magnet in the family. (knock wood!)
6. I keep my fabric in my china cabinet. The china lives in a box so I guess we know which one I like more these days.
7. My computer desk is actually a table my grandfather built to hold one of his wood working machines. When I run my fingers over the wood smoothed by years of use I think of him.
February 04, 2012
Pins, Ironing, and Leftovers
 |
| Pinned Lone Star Strip Set |
 |
| Check Alignment Using a Standing Pin |
 |
| Lone Star Diamond Ironing |
 |
| Lone Star Strip Leftovers |
Y-Seam Free Lone Star Trick
Y-Seams, who wants them? Why make them on purpose? I see neither friend nor foe when sewing Y-seams, but they are rather fussy, so I say, Why sew them if you don't have to? This little tutorial is all about how to sew your beautiful Lone Star aka Bethlehem Star without Y-seams.
Step 1: Have all eight of your Lone Star Diamond Pieces finished. Also have your background pieces cut. Your pattern should give you tips for knowing what size to cut your background pieces. Now fellow quilters, I know you can't stand it and want to sew this star together already, but I assure you if you do that you'll be following those directions of yours and come to a Y-Seam before you know it. If you'd rather not do that lay your star out on the floor or your design board now to your star add your background pieces. If a diamond just isn't seeming to want to line up you can try moving it to another location, often that will help, or if you star is a radiant star like mine is - aka both ends of your diamond are the same you can actually try flipping the diamond around so the outside most point is now in the center. I found that helps quite a bit.
 Is your layout beautiful? If yes grab your top left square and your uppermost left diamond. We're going to work around this quilt in a clockwise fashion. Reverse is good too, just remember that you reversed it. Now you see that lovely little drawing I have for you? Sew that first background piece to the first diamond piece, right there on the teal line. Looking at the picture note that you need to start sewing by lining up the bottom of the square to the inner point of the diamond, that way any extra fabric in your background pieces will be towards the outermost part of your quilt. Iron as desired. Do this four times placing the diamond + square piece back into your layout when finished.
 Step 2: Now take down the second diamond and the diamond + square piece. Pin the two diamonds together, taking care to line up the seams just as you did earlier when piecing your small diamonds. Do not worry about the square, simply let it dangle free for a minute. Sew along the blue line. Stop. Fuss with your fabric a bit and align the second diamond to the second side of the square square pivot the foot of your machine and begin sewing along the red line. Do this four times with your other pieces. Returning each newly sewn piece to your star layout as you go.
 Step 3: This will work if you're using diamonds on the sides or if you are using squares on the sides. The shape makes no difference. My directions will show you using a diamond as that is the most common. Take your first double diamond + square piece and your first triangle background piece. Pin and sew from the right angle of the triangle to the outermost point of the star as shown with the green line on the left. Do this four times. Do not worry about the dangling edge of the triangle we will take care of that and wrap up this star in the next step. Return your pieces to your layout. Can you believe it, your star is a mere four pieces already!
Step 4: From your layout remove your first double diamond + square + triangle piece, as well as your second. As in step 2 pin your small diamonds carefully, leaving the triangle to dangle. Now starting at the centermost point of the star and sew along the red line. Stop, align the loose flap of the triangle to the diamond and sew the purple line. Do this four times and your star will be all sewn together without a single Y-seam. Now aren't you glad you decided to create a Lone Star Quilt?
Lone Star Support Group Session 2
 |
| Lone Star Diamonds Laid Out |
 |
| Lone Star Quilt Layout Sketch |
 |
| Lone Star Center Detail |
February 02, 2012
The Second Act: The Snake
 |
| The Snake in my Snake and Meerkat Quilt |
As this is a quilt about "What I would look like if I were a quilt". I can say that the snake, oh the snake. When the pain is very bad I can feel the snake in my veins hissing and spitting. Sometimes even driving to me to reach out and snarl at friends and family with words I would never say under other circumstances. Even though the pain is in my leg I can feel the snake in all of my veins, pounding and thrumming against my will. Since starting this quilt May 9, 2010 (I know it's been on the list a long time!) I feel the snake less often. Perhaps I could even say I rarely feel the snake.
 |
| Snake head in need of Fangs |
Subscribe to:
Posts (Atom)